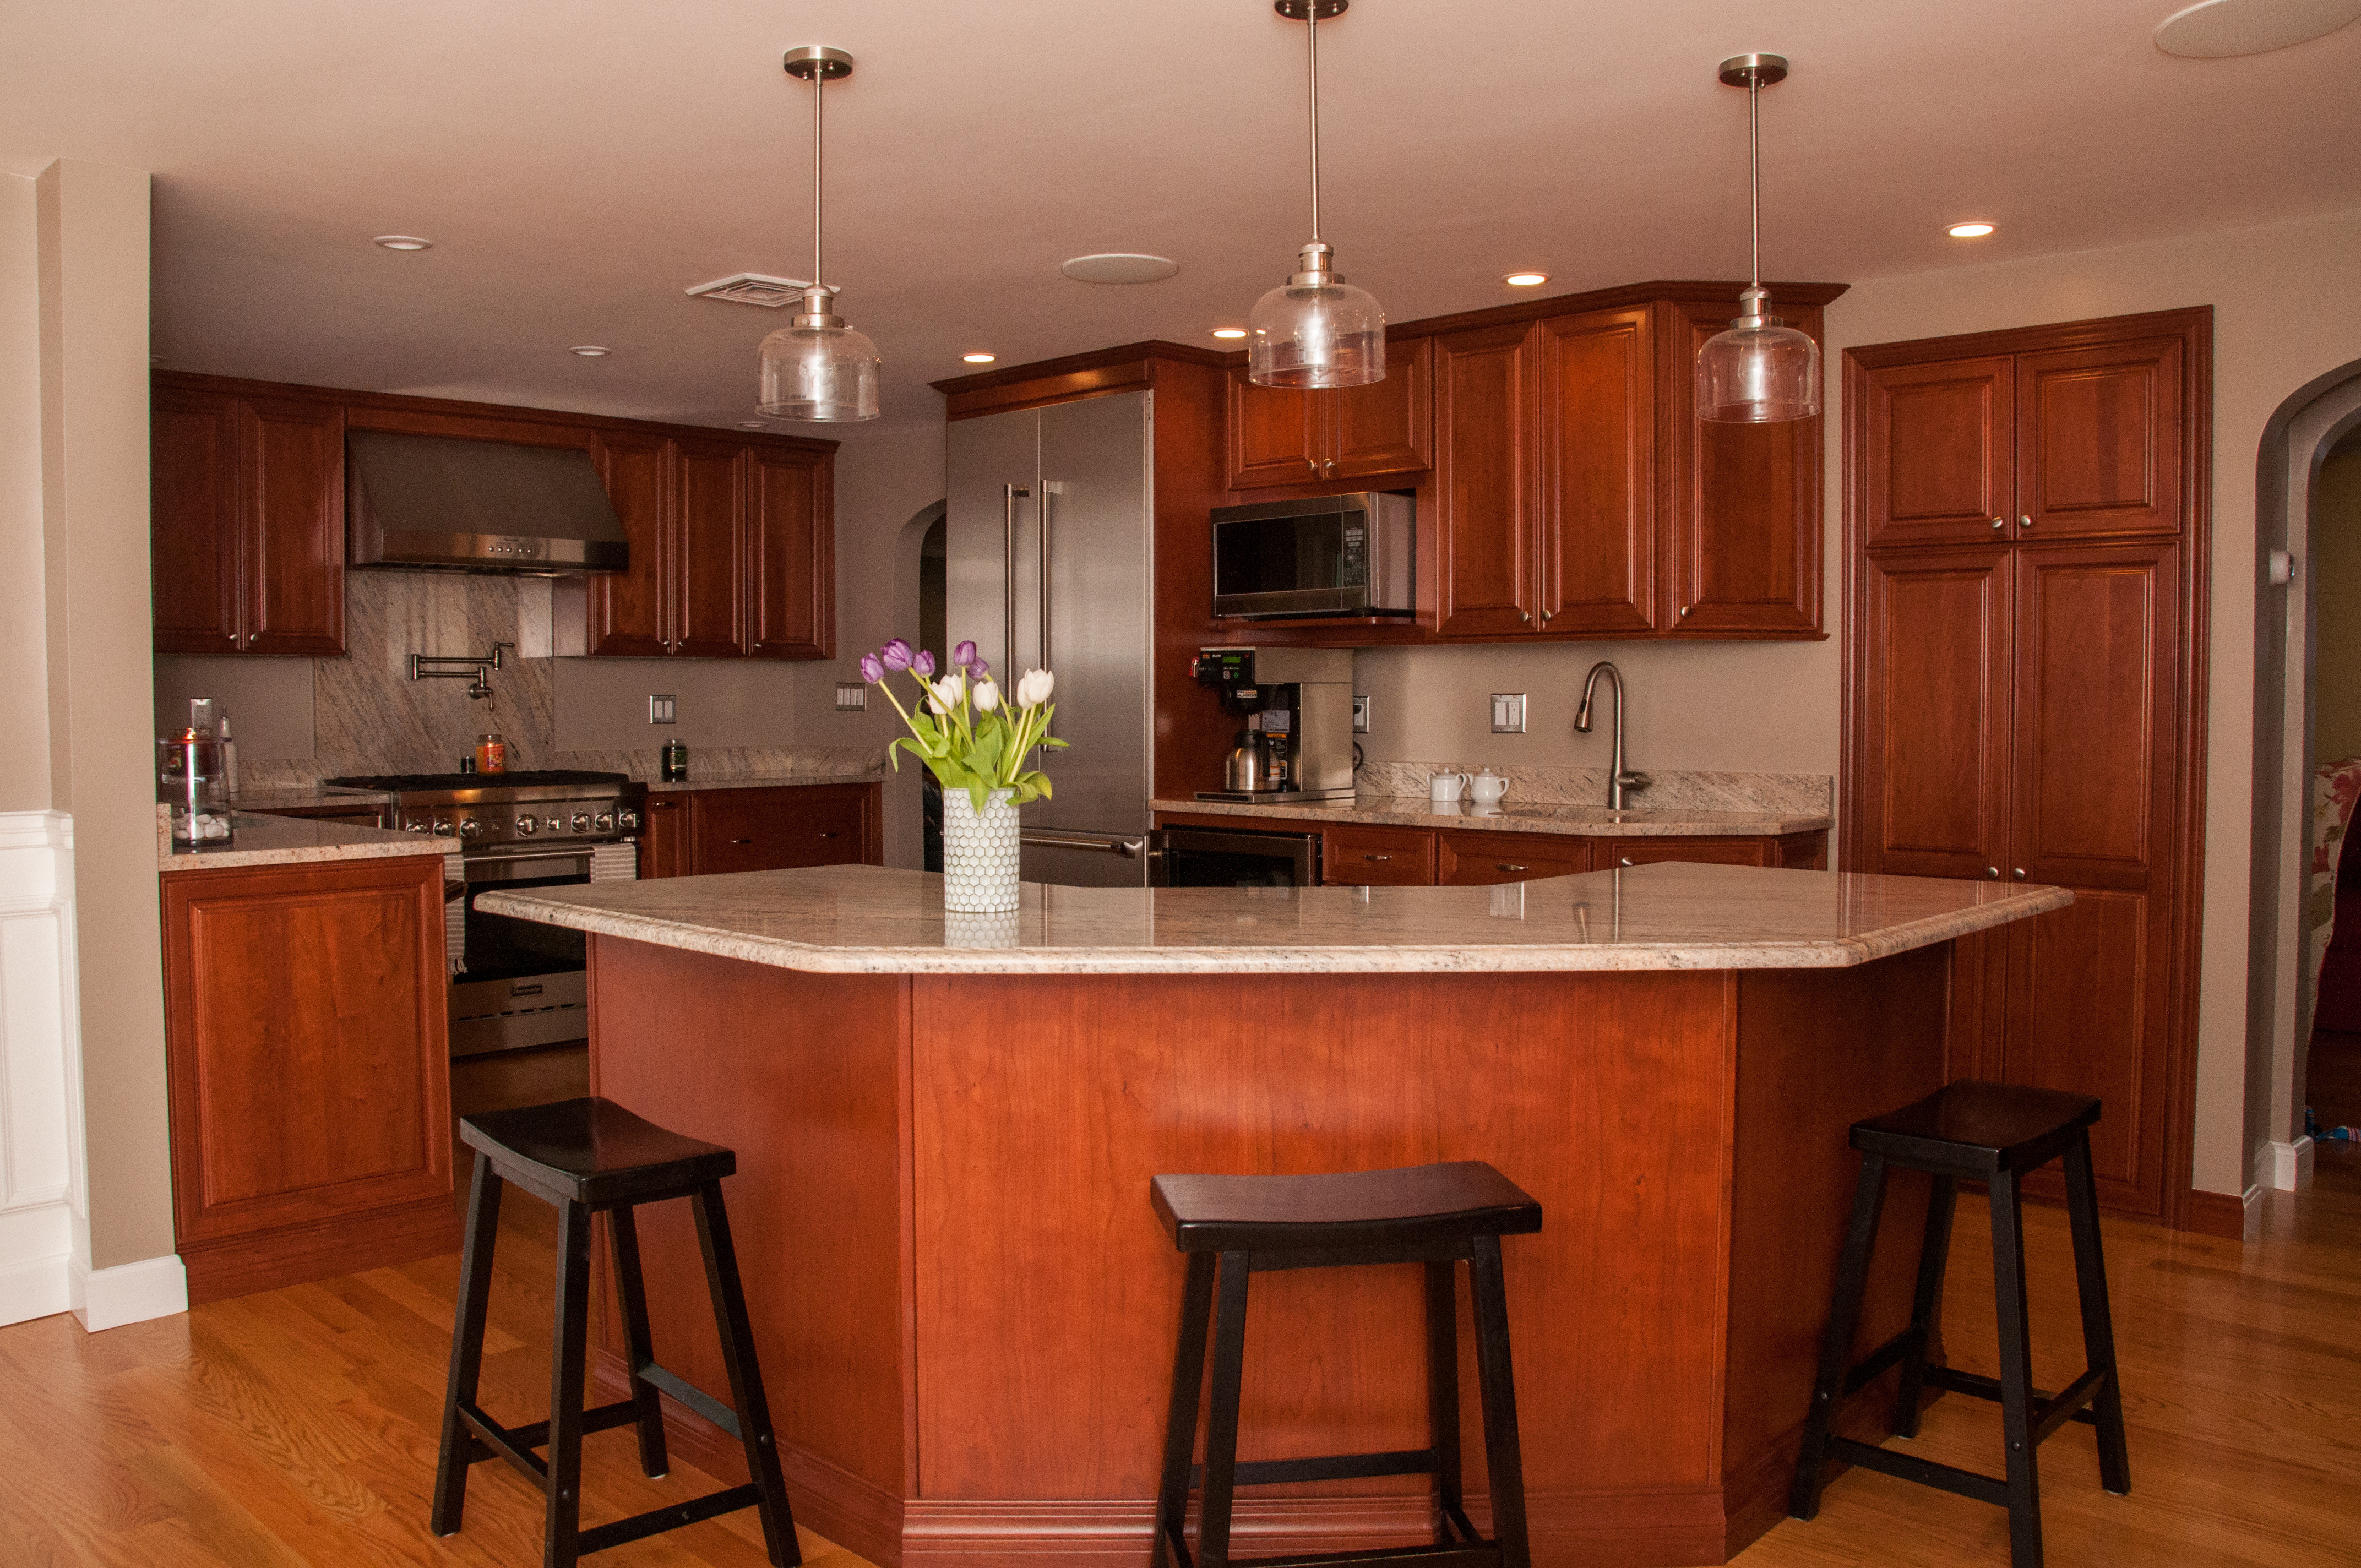
[vc_row][vc_column][vc_column_text]As residential contractors, we remodel everything from master bedrooms and bathrooms to garages and basements. Through it all, one of the most popular renovations we see is kitchen remodels because of its functionality and return on investment.
When remodeling your kitchen, there’s a lot of time and preparation needed before you can begin the process. We like to encourage our clients to first put together a collection of pictures and designs they like so we can get a sense of their style and vision. After this is decided, we move onto determining your budget so we can direct you in materials within your price-range for your cabinets, fixtures, appliances, flooring and counter-tops. Keep in mind that the average kitchen renovation can take about 4-6 weeks start to finish, while the average cost can range from $45k-100k and above.
Now that we have all of the background work done, let’s dive into the remodeling process:
Step 1: Planning and Permits: Being without a kitchen for 4-6 weeks can be difficult, which is why it’s crucial to plan ahead. Select a contractor that you feel will be easy to work and that has licenses, insurance and references. Sometimes permits can take up to a month to get approved, which is why planning (and patience) helps during this high-stress time.
Step 2: Demolition & Framing: Out with the old! It’s time to tear everything down to the studs. Hopefully there aren’t any surprises behind your walls like lead or asbestos, but if there are they can be taken care of in this stage. This demo step is messy, but it will only get better after this part in the process is complete. Once the framing of new walls is up, electrical and plumbing can be installed…. But be sure to get work inspected and approved before closing up the walls!
Step 3: Insulation: Now’s the time to insulate all exterior walls and around windows. Older homes are not properly insulated and it can make a huge difference once insulated. Your contractor should go over your insulation options such as fiberglass and spray foam.
Step 4: Board and Plaster: This is a straight-forward part of the job. At this stage, we make sure there are smooth finishes to prevent any imperfections during the painting process.
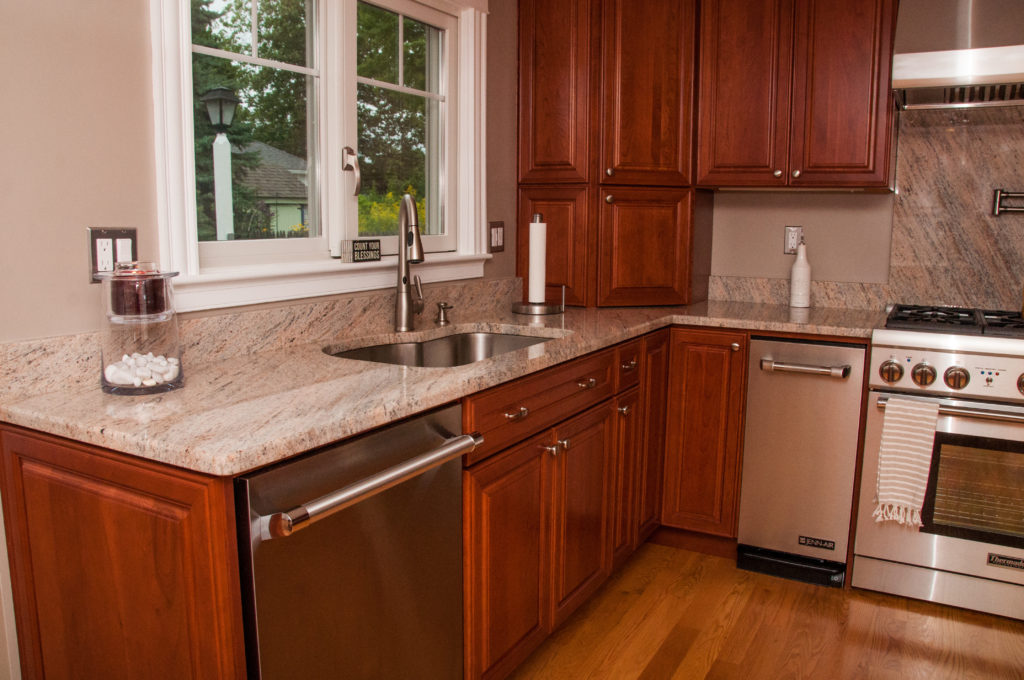
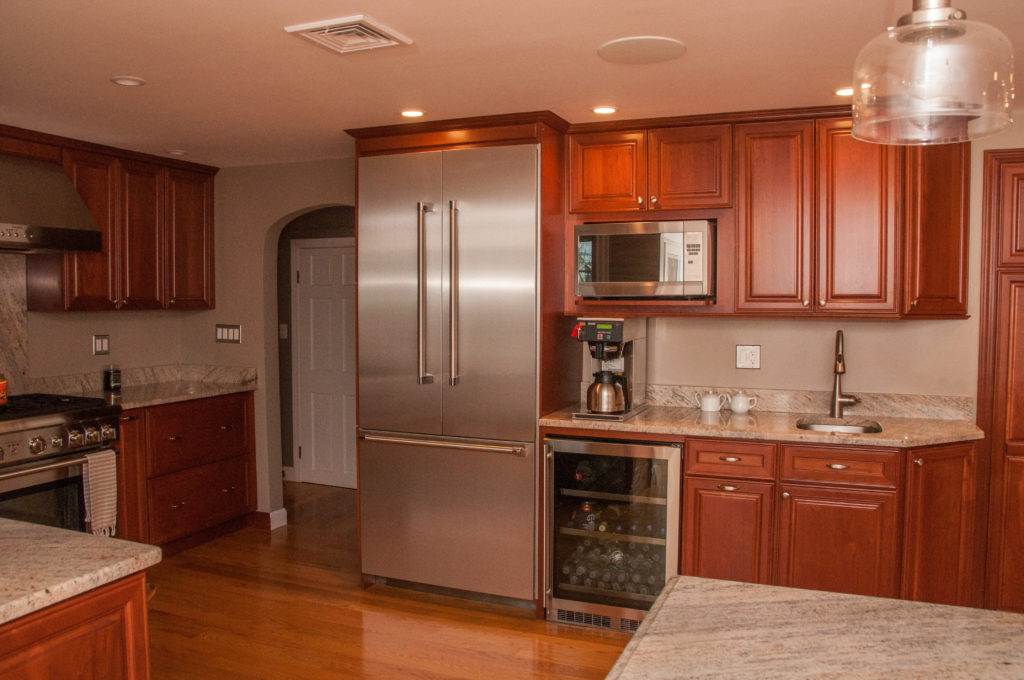
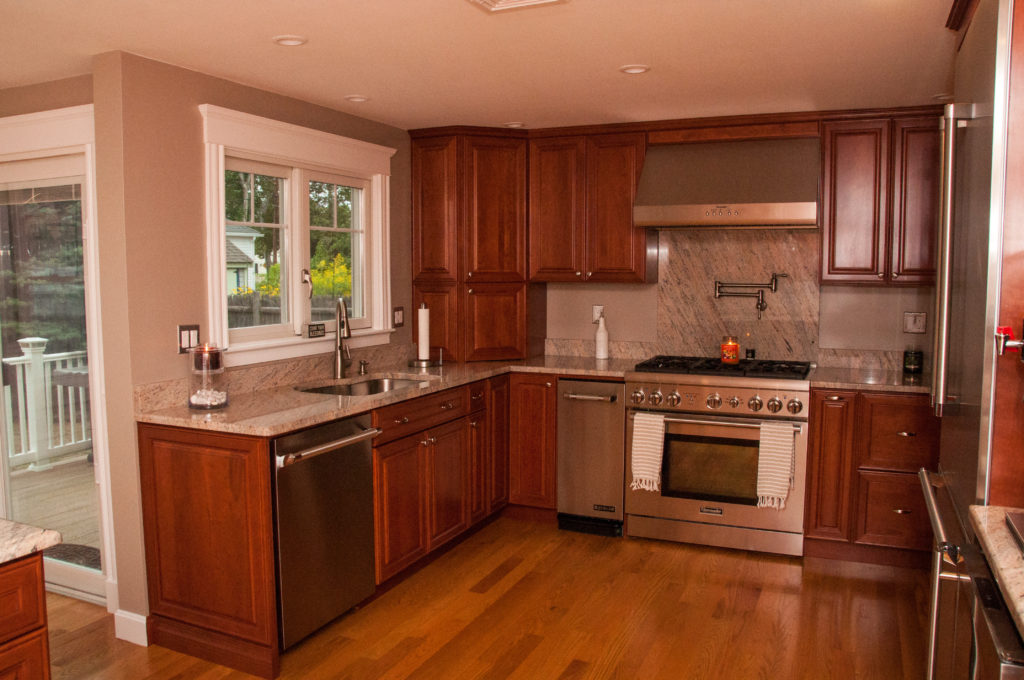
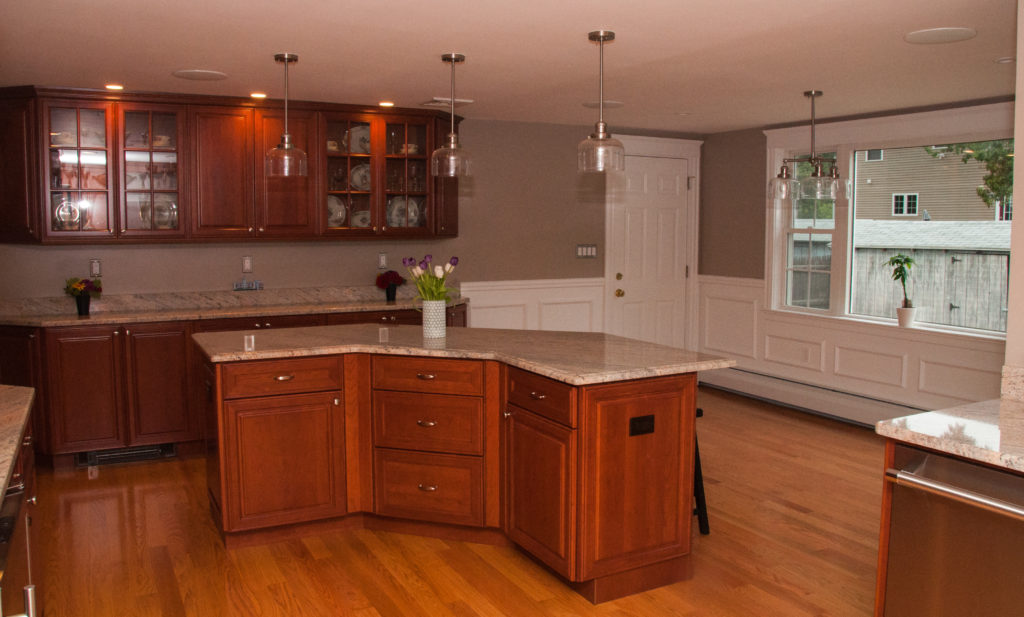
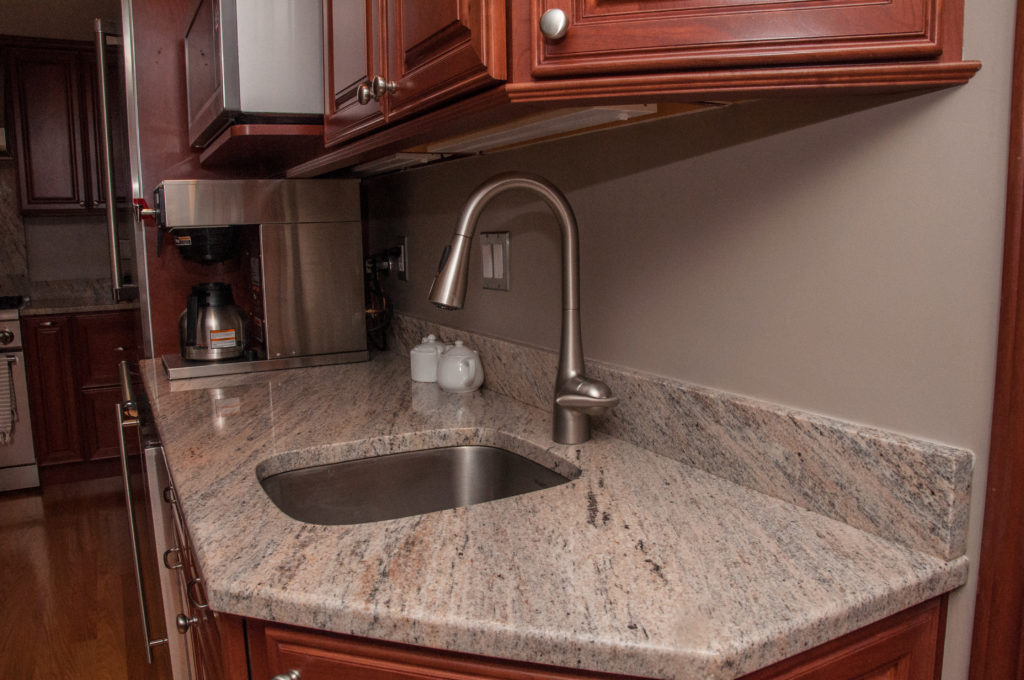
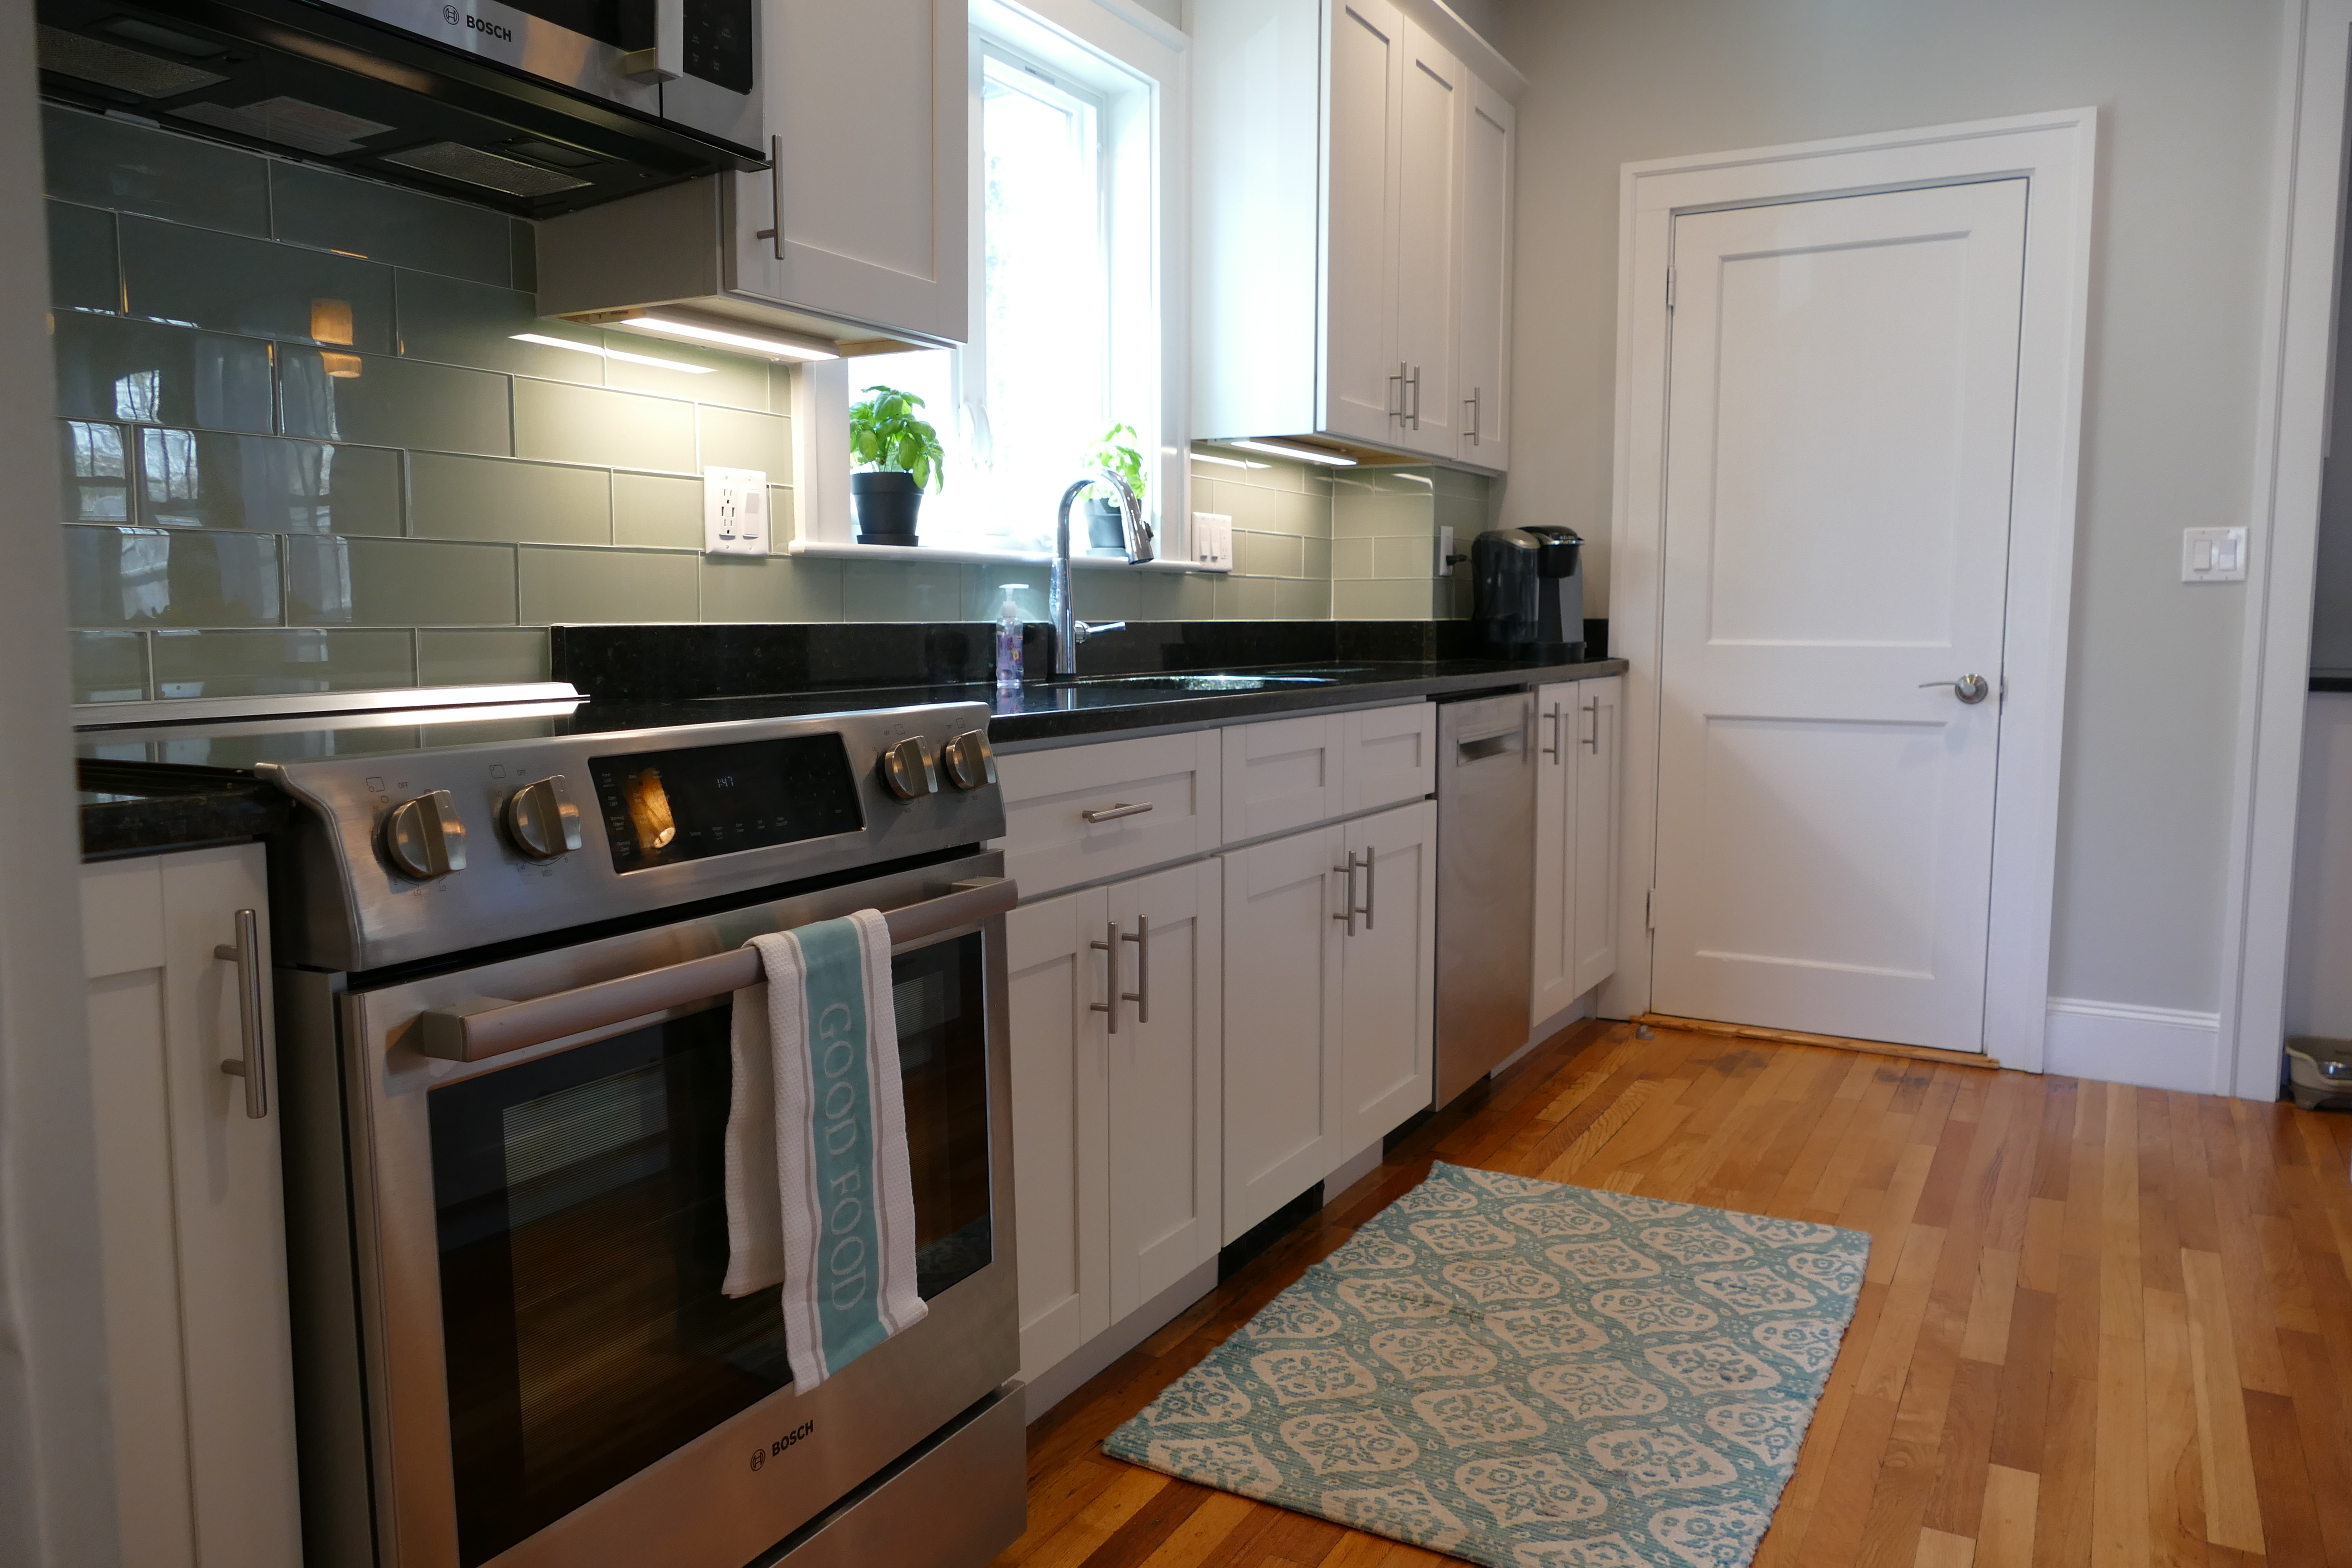
Step 5: Flooring and Carpentry: In with the new! Your work with a kitchen designer or your own personal taste is going to come to life in this step. Floors are installed along with cabinets, hardware and molding. There are endless options for cabinets and flooring and these materials would have been established based upon your budget, kitchen designer or personal taste in the preparation stage.
Step 6: Paint: You made it to the final step! Always prime plastered walls and add two coats of finish paint. We suggest a moisture resistant paint for kitchens and find that semi-gloss is most common for trim.
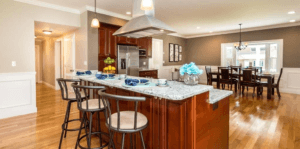
We hope you found these steps helpful and inspire you to move forward with your dream kitchen remodel. Updated kitchens can increase the value of your home while, a timeline and clear vision makes for a smooth and organized project!
Thanks for reading,
-The Team at McDonald Contracting | www.McDonaldContractingMA.com[/vc_column_text][/vc_column][/vc_row]