Although attics are commonly associated with storage, at McDonald Contracting, we believe that attics hold much more potential. Attics can be converted into functional spaces that suit your needs without increasing the square footage of your home.
Continue reading to explore creative ways to reimagine your attic with us — turning it into a space of functionality and style. (Check out our previous attic projects!)
- Dream Closet:
Is your closet bursting at the seams? Consider converting your attic into a second closet. Clean up the space, install racks for shoes and clothing, add a full-length mirror, shelves for accessories, and your preferred lighting. With thoughtful organization, you can create a spacious and stylish dream closet that makes getting ready a joy.
- Home Office:
Need a quiet place to focus? Turn your attic into a peaceful home office. Revamp the walls with calming colors, add warm lighting fixtures, and set up a sturdy desk with a comfortable chair. In addition, consider including storage solutions to keep your workspace clutter-free. Your quiet attic will become the perfect zone for concentration and productivity, away from household distractions.
- Playroom:
Give your kids their own space by transforming the attic into a vibrant playroom. Add plenty of lights, paint the walls in fun and energetic colors, and incorporate your child’s favorite toys. As your kiddos grow, the attic can evolve into a study space or hangout area to suit their changing needs.
- Entertainment Room:
Turn your attic into a lively entertainment space for family and friends. Install quality speakers, colorful LED lights, and set the stage for karaoke nights. Consider comfortable seating for spectators and a designated area for the performer. Your attic will become the go-to spot to unleash your inner rockstar, creating unforgettable moments with loved ones.
- Library:
Promote a love for reading by creating a family library in your attic. Paint the walls in light, calming colors, add built-in or freestanding bookshelves, comfortable chairs, and soft lighting. Organize books by genre or family member’s preferences. Transform your empty attic into a sanctuary that fosters learning and creativity, providing a cozy retreat for quiet reading sessions.
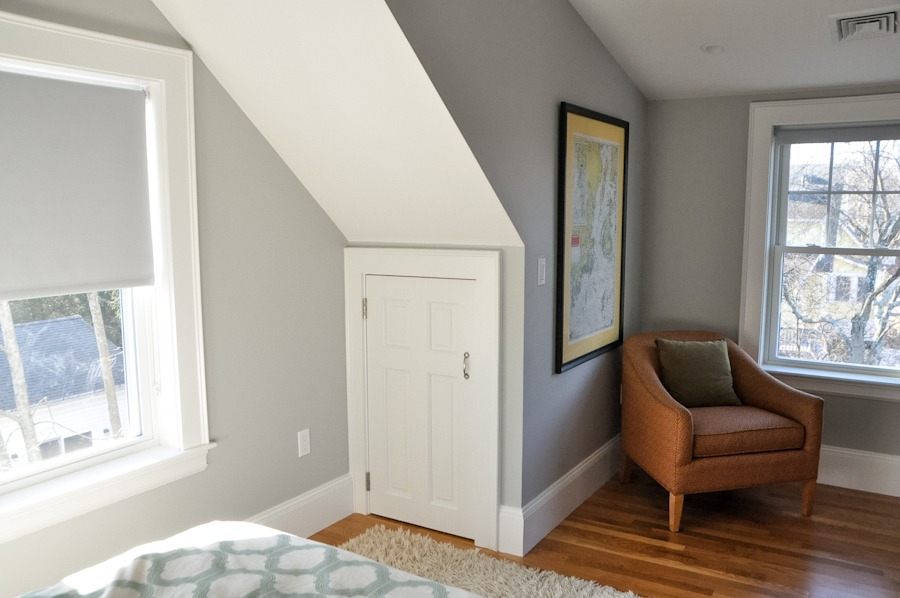
- Extra Bedroom:
Lastly, attics can be converted into a spare bedroom. By adding insulation, maximizing ambient light through strategic windows or skylights, choosing flooring that aligns with your design vision, and placing furniture that seamlessly blends form and function, with built-in storage solutions. You can create an inviting atmosphere with your personal touch.
With a bit of imagination, your attic can become the most versatile and cherished space in your home. Our team of experienced staff at McDonald Contracting is always ready to help you transform your attic into your dream space!